RaspberryPi PICO and PYUSB: Unlocking the Power of Custom USB Endpoints

Introduction
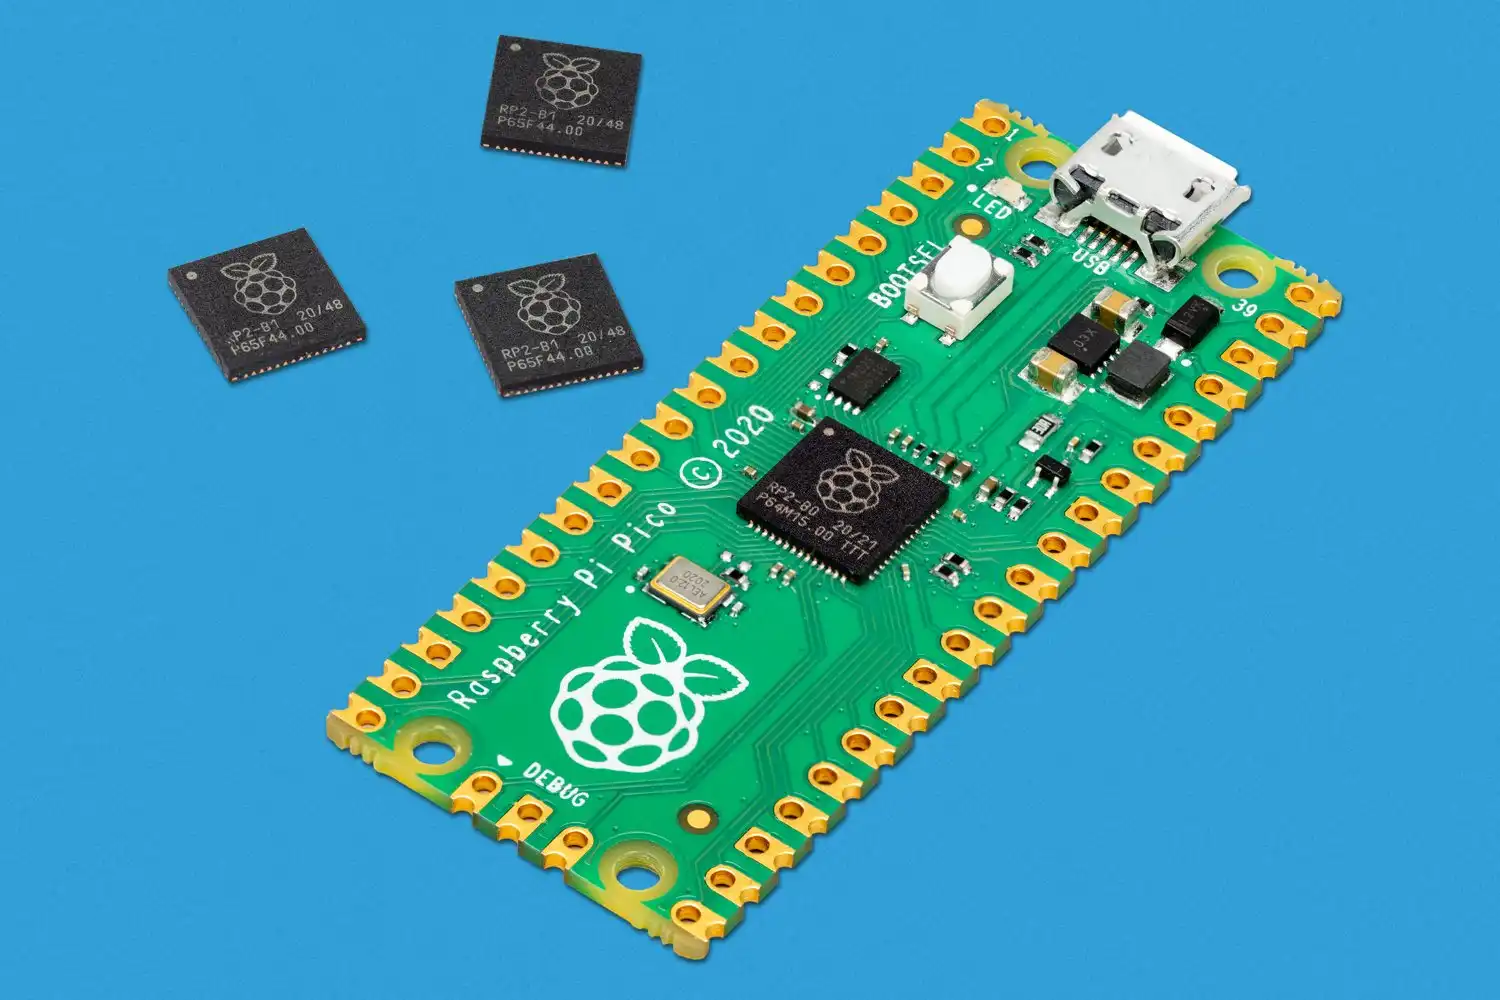
The RP2040 is a microcontroller developed by Raspberry Pi that has opened up a world of possibilities for DIY electronics enthusiasts. With its built-in USB 2.0 support, the RP2040 can function as a FULL SPEED (12Mbps) Device as well as a LOW SPEED (1.5Mbps) and FULL SPEED host. In this blog post, we'll explore custom USB endpoints and how you can use them to create your own custom USB devices.
Before diving deep into the topic, let me give you a brief idea of what is USB and how it works. We all know what a USB connector looks like and we use at least one USB device daily. USB stands for Universal Serial Bus. It is a standard interface used to connect various devices to a computer or other host devices. It was developed in the mid-1990s, and it has since become one of the most widely used methods for connecting peripherals to computers.
USB allows devices to be connected to a computer without requiring specialized hardware or software. It is a plug-and-play interface, meaning that devices can be connected and disconnected from a computer without needing to restart the computer (Referred to as HOST). The HOST is responsible for all the communication and the device cannot communicate anything on its own.
When a device(For Ex Mouse, keyboard, Printer) gets connected to the HOST (Computer) the HOST communicates with the device to know its capabilities through Device Descriptors and configuration descriptors. Once the HOST knows what the device is, it starts communicating with it with the help of device drivers.
Types of USB Transfer
- Control Transfer - It is used to set and get USB configurations, set device address and other settings. All USB Devices must support Control Transfers.
- Isochronous Transfer - This transfer is used when the data bandwidth required is high and error correction is not important. For Ex- Streaming audio and video
- Interrupt Transfer - This transfer works by polling. It Polls the device periodically for any data. Keyboard and mouse use this transfer to report key strokes and movements.
- Bulk Transfer - This transfer provides reliable data transfer but the bandwidth is not guaranteed every time. This is typically used for printers and scanners etc.
If you want to get more detail of how everything works I highly recommend you to check out USB Made Simple.
What we will be doing?
In this blog I will be showing you how I created a composite USB device which can act as a USB keyboard and a custom Endpoint for communication and transferring data.
The Device structure is shown below. Here we have 1 configuration and 2 interfaces for the device (RP pico in our case).
- Interface for a HID device (Human Interface Device), in our case it will be a Keyboard.
Learn more about HID Devices here. - Interface for our custom Bulk Transfer End points, which we will use to transfer data from host to device.(To Control the on Board LED which you will see later).
Device Descriptor:
  bLength                18
  bDescriptorType         1
  bcdUSB               2.00
  bDeviceClass            0
  bDeviceSubClass         0
  bDeviceProtocol         0
  bMaxPacketSize0        64
  idVendor           0xcafe
  idProduct          0x4014 // Vendor ID and Product ID pair is used to identify a device to load suitable drivers.
  bcdDevice            1.00
  iManufacturer           1 Raspberry Pi
  iProduct                2 RP2040
  iSerial                 3 001
  bNumConfigurations      1 //our device only has one Configuration
  Configuration Descriptor:
    bLength                 9
    bDescriptorType         2
    wTotalLength       0x0039
    bNumInterfaces          2 //2 Interfaces, one for the HID keyboard and other for our custom endpoints
    bConfigurationValue     1
    iConfiguration          4
    bmAttributes         0xa0
      (Bus Powered)
      Remote Wakeup
    MaxPower              100mA //max current limit for our device USB2.0 supports uto 500mA
    Interface Descriptor:  //This is the Interface for HID keyboard
      bLength                 9
      bDescriptorType         4
      bInterfaceNumber        0
      bAlternateSetting       0
      bNumEndpoints           1
      bInterfaceClass         3 Human Interface Device
      bInterfaceSubClass      0
      bInterfaceProtocol      0
      iInterface              5
        HID Device Descriptor:
          bLength                 9
          bDescriptorType        33
          bcdHID               1.11
          bCountryCode            0 Not supported
          bNumDescriptors         1
          bDescriptorType        34 Report
          wDescriptorLength     239
         Report Descriptors:
           ** UNAVAILABLE **
      Endpoint Descriptor:
        bLength                 7
        bDescriptorType         5
        bEndpointAddress     0x81  EP 1 IN
        bmAttributes            3
          Transfer Type            Interrupt
          Synch Type               None
          Usage Type               Data
        wMaxPacketSize     0x0010  1x 16 bytes
        bInterval               5
    Interface Descriptor: //This is the Interface for our custom endpoints (for contolling the LED in this example)
      bLength                 9
      bDescriptorType         4
      bInterfaceNumber        1
      bAlternateSetting       0
      bNumEndpoints           2
      bInterfaceClass       255 Vendor Specific Class
      bInterfaceSubClass      0
      bInterfaceProtocol      0
      iInterface              6
      Endpoint Descriptor:
        bLength                 7
        bDescriptorType         5
        bEndpointAddress     0x03  EP 3 OUT
        bmAttributes            2
          Transfer Type            Bulk
          Synch Type               None
          Usage Type               Data
        wMaxPacketSize     0x0040  1x 64 bytes
        bInterval               0
      Endpoint Descriptor:
        bLength                 7
        bDescriptorType         5
        bEndpointAddress     0x83  EP 3 IN
        bmAttributes            2
          Transfer Type            Bulk
          Synch Type               None
          Usage Type               Data
        wMaxPacketSize     0x0040  1x 64 bytes
        bInterval               0
I have used lsusb in ubuntu to see device descriptors. You can also use USBView on windows to do the same.
You can think of interfaces as functions (or a group of functions) which a device performs and endpoints as a dedicated channel or stream of data between host and device. (This is just to give you an idea)
USB2.0 Support 16 Endpoints (From 0 to 15) out of which Endpoint 0 is reserved (For device configuration and setup). Each Endpoint can be configured to act as a IN or OUT endpoint.
The direction of Endpoints are always from the perspective of the HOST.
IN means Data Transfer from device to HOST
OUT means Data Transfer from HOST to device
In our configuration we have used 1 IN endpoint for Keyboard (To send Keystrokes to the HOST), 1 IN Bulk endpoint to send data from device to HOST and 1 OUT Endpoint to send data from Host to device.

You can find the entire project code here Pyusb-RP-PICO.
Results
1. Sending character "A" to the HOST
Pressing Button on the RaspberryPi Pico

Result

2. Sending Data
The HOST Program is controlling the on Board LED.
For Further Reading you can Refer these:-
Addendum 1
For Doing something similar in Windows OS please read this blog post here
Thank you for reading! 😁